A new drill owner usually buys one boxed set of bits, uses it on pine, then on a steel bracket, then on a brick wall, and decides the bits are rubbish when they smoke and go blunt. The bits were rarely the problem. A bit is a cutting tool shaped for one family of materials, and using it outside that family wears it out quickly or gives a ragged hole. Choosing well takes four decisions: the bit type, the material it is made from, the shank that fits your chuck, and the speed you run it at.
This guide works through each decision in that order, then explains why bits burn and what you can do about it. It also flags some failures that few buying guides mention, such as how a bit that wanders on smooth metal is usually solved by a punch mark rather than a better bit.
The main bit types and what each cuts
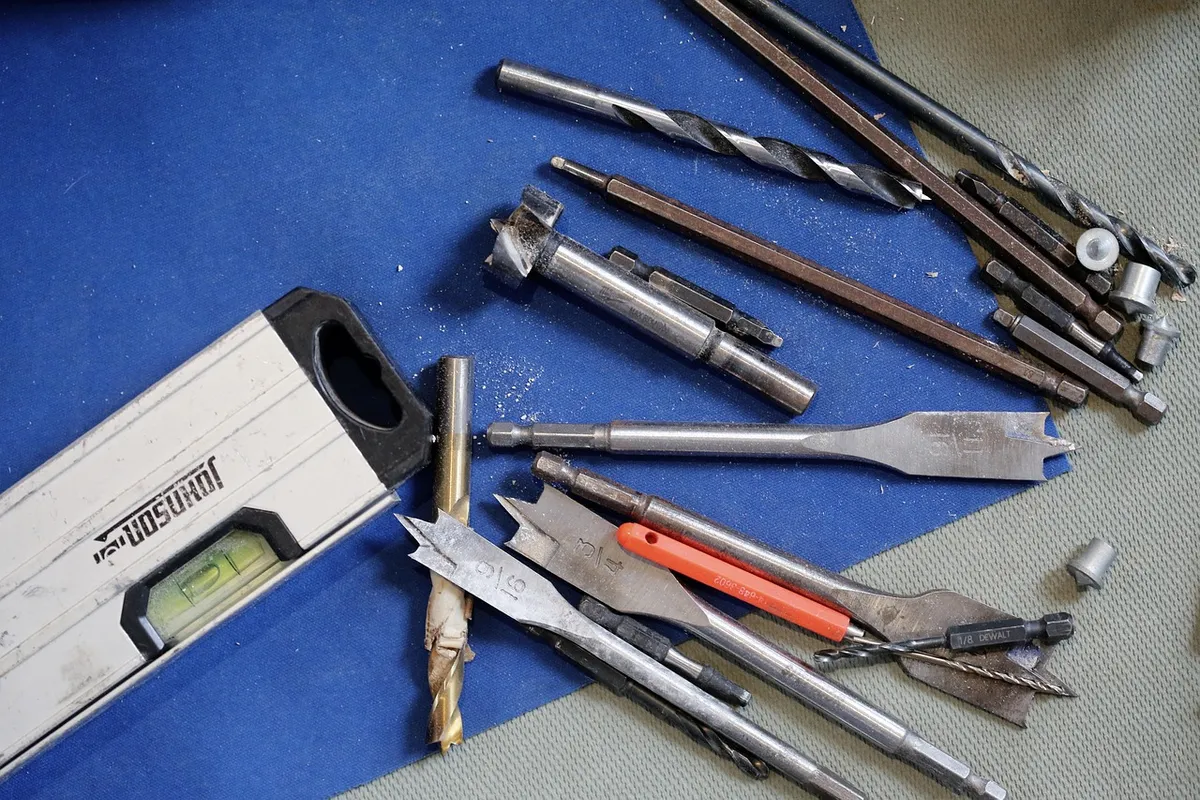
The twist bit is the familiar spiral with a pointed tip, and it is the general purpose choice. The flutes carry waste out of the hole, and the point angle, commonly around 118 degrees for general bits and around 135 degrees for harder materials, sets how the tip engages. On wood a standard twist bit can skate across the surface before it bites, and it tears the exit side, so for visible work something more refined is better.
A brad point bit has a small centre spur and two outer spurs. The spur locates the hole precisely and the outer spurs score the wood fibres before the cutting edges lift them, which gives a clean entry and a clean hole in solid wood and plywood. Spade bits, sometimes called paddle bits, are flat blades with a centre point, cheap and quick for rough holes of 10 mm to 38 mm for running cable or pipe through studs, and they leave a rough finish. Forstner bits cut flat bottomed holes with a clean wall and are the choice for hinge cup holes and anything that must not break through, but they need a drill with real torque and a slow speed.
Masonry bits have a hard carbide tip brazed onto a steel body, with a wide flute to clear dust. They crush rather than cut, so they work best in a hammer drill or at least a drill with a hammer setting, and they struggle in very hard stone without that action. Step bits, shaped like a stack of cones, cut thin sheet metal, plastic and sheet aluminium in progressive sizes and leave a clean round hole without the grab that a twist bit can have on thin stock. Hole saws, tile bits and auger bits fill the larger and more specialised jobs, and each is built to a particular material in the same way.
| Bit type | Best material | Hole quality | Watch for |
|---|---|---|---|
| Twist (HSS) | Metal, general wood and plastic | Good in metal, rough exit in wood | Wandering on smooth surfaces |
| Brad point | Solid wood, plywood | Clean, accurate | Not for metal |
| Spade | Wood, rough work | Rough, fast | Splintering on exit |
| Forstner | Wood, flat bottom holes | Very clean | Needs low speed and torque |
| Masonry (carbide tip) | Brick, block, concrete | Rough but adequate | Hammer action needed in hard material |
| Step | Thin sheet metal, plastic | Clean, round | Not for thick stock |
HSS, cobalt, titanium coating and carbide
The material of the bit decides how long it keeps an edge. High speed steel, or HSS, is the baseline for twist bits, tough enough to flex slightly without snapping and hard enough for wood, plastic and mild steel. Black oxide finishes are a thin surface treatment on HSS that resists rust and slightly reduces friction, while a bright, uncoated bit is the cheapest. Neither changes the steel underneath.
Titanium nitride coating, the gold coloured finish, adds a hard thin layer that lowers friction and resists wear. It helps, but it only sits on the surface, so once you resharpen the bit or it wears through, the steel underneath is ordinary HSS. Cobalt bits are different, because the cobalt is alloyed through the whole bit, typically around 5 to 8 percent in common grades. Cobalt keeps its hardness at the high temperatures that drilling stainless steel and other hard metals produce, which is why cobalt bits are the standard answer for stainless, cast iron and hard alloy steels. They are harder and more brittle than plain HSS, so a bent or side loaded cobalt bit snaps rather than flexes.
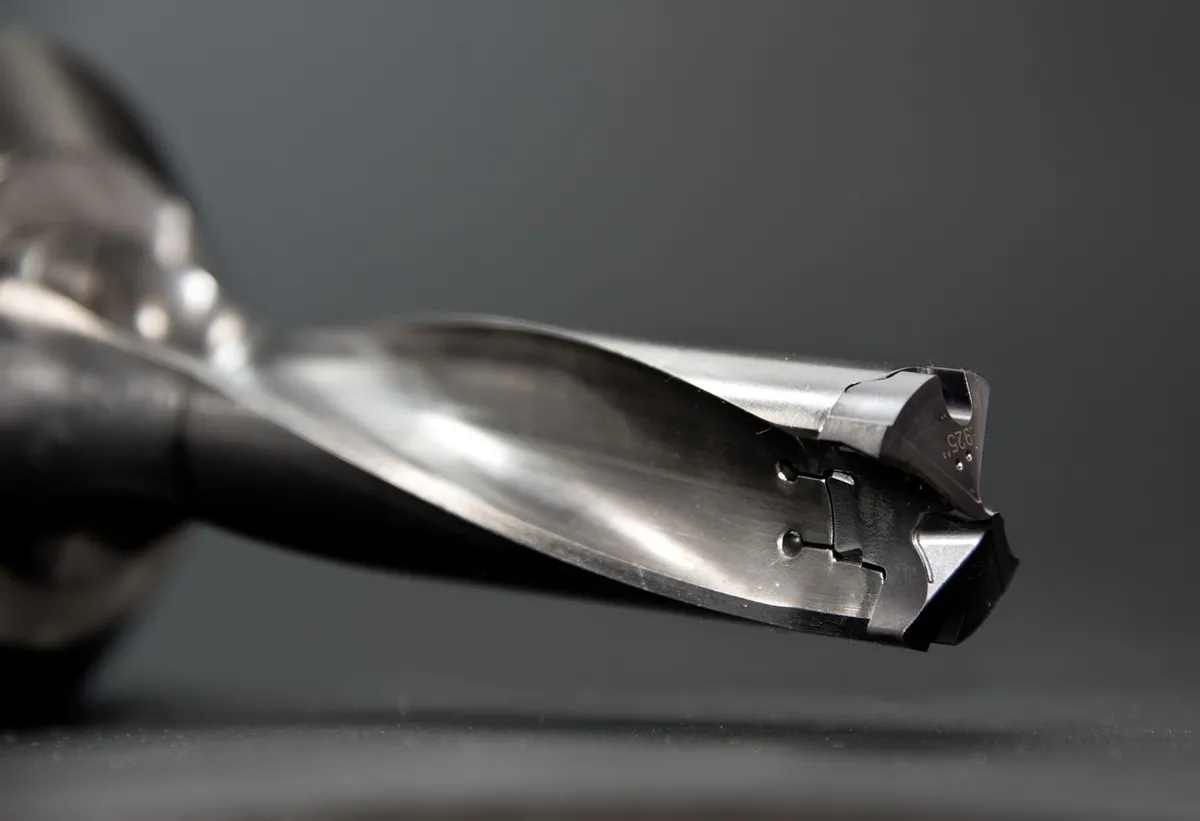
Carbide, a very hard tungsten carbide material, appears as tips on masonry bits and as solid bits for abrasive materials like fibreglass, circuit board and hardened composites. Solid carbide bits are brittle and expensive, so they are not an everyday choice in a hand drill. The sensible reading is that HSS covers most household jobs, cobalt is worth buying for stainless and hard metal, carbide tipped bits are for stone, and a coating is a bonus rather than a reason to pay a lot more. As with batteries, the bit and the drill work as a system, and understanding the battery behind your drill helps explain why a bit that stalls a small pack can run happily on a bigger one.
Shank types and chuck fit
The shank is the end that goes into the drill. A round shank fits a standard three jaw chuck, and it is the default on twist, brad point and most masonry bits. Round shanks can slip under heavy load because the jaws grip a smooth cylinder, which is why larger bits sometimes come with a flatted or reduced shank to improve grip.
A hex shank, usually 6.35 mm (a quarter inch), fits quick change chucks on impact drivers and on some drills, and it cannot slip in a properly gripping chuck. This makes hex shank bits useful when you switch between driving and drilling with an impact driver. SDS shanks are a different system again, a grooved shank that slides in a hammer drill's chuck and locks, letting the drill hammer the bit forward and back. SDS plus is the common size for home hammer drills, while SDS max is for heavy demolition tools. An SDS bit does not fit a regular chuck, and a round shank bit does not take advantage of SDS action, so check the chuck before buying a masonry set. For the question of which tool suits which job, see our comparison of drills and impact drivers.
Drilling wood without tearing it
Wood grain is a bundle of fibres, and a bit that pushes out the back of the hole lifts those fibres into splinters. The cure is support. Clamp a scrap of wood behind the workpiece and drill through into it, and the exit side comes out clean because the fibres have nothing to tear into. For visible holes in cabinetry, a brad point bit and a backing board together give results that a spade bit cannot.
Depth matters too. Mark a stop with a piece of tape on the bit, or use a depth collar, so you do not drill into the table or through a finished face. On deep holes, withdraw the bit every few millimetres to clear chips, because packed flutes generate heat and make the bit pull sideways. In softwood the bit can feed quickly, while in hardwoods such as oak or maple a slower feed and lower speed avoid burning the wall of the hole. After drilling, a light pass with the right grit from our sandpaper grit guide removes any fuzz at the rim. A burnt hole wall is a common sign that the speed was too high or the bit was dull.
Drilling metal accurately
Metal drilling starts with a centre punch. A drill point has no way of staying put on a flat steel surface, and without a dimple it will skate and scratch the work. Tap the punch once, start with a small pilot hole of 3 mm or so for anything beyond 6 mm, then open it up to size. The pilot removes the load on the large bit's chisel edge, which is the flat centre of the tip that scrapes rather than cuts.
Lubrication matters for steel and is essential for stainless. A few drops of cutting oil carry heat away and extend bit life considerably. For aluminium, oil or a wax lubricant stops the soft metal welding itself to the flutes. Hold the work firmly, because a bit that grabs as it breaks through thin sheet can spin the workpiece or pull the drill from your hands. Clamp the sheet or use a step bit, which cuts gradually and does not grab. On thick stock, steady pressure and a medium feed rate cut better than pressing hard, which only heats the tip.
Masonry, tile and glass
Masonry drilling is done with a carbide tipped bit and, in anything hard, a hammer function that pulses the bit forward as it spins. Without the hammer, a masonry bit grinds in dense concrete and may stall. The wider the hole, the more important a dedicated hammer drill becomes, since drilling a 10 mm hole in concrete with a regular drill is slow and hard on both bit and tool.
Dust clearance is the part people overlook. The flutes on a masonry bit are wide to lift dust, and if the hole fills, drilling slows and the bit overheats. Withdraw the bit periodically, and wear eye protection and a dust mask, since masonry dust can contain fine silica. Drilling in tile is a separate technique: use a dedicated tile bit with a spear shaped carbide tip, start at low speed with no hammer, and use masking tape to stop the bit sliding on the glaze. Porcelain is harder than ceramic and benefits from a diamond tipped bit. Glass needs the same low speed approach with a spear tip and a little water to cool the tip, and should be done on a flat supported surface.
Speed by bit size and material
The rule behind drilling speed is surface speed, the rate at which the bit's outer edge travels across the material. A small bit spinning at a given rotation rate has a slower edge than a large bit at the same rate, so small bits want high rotation and large bits want low. This is why a 25 mm Forstner bit run at full drill speed burns the wood and dulls fast, while a 3 mm twist bit at low speed barely cuts.
No single published table covers every material and bit, and any chart should be read as a starting point rather than a rule. In practice, run small bits under about 6 mm at high speed, bits of roughly 6 mm to 13 mm at medium, and larger bits at low speed. Harder materials need lower speeds than softer ones: stainless steel wants a slow steady cut, aluminium and softwoods tolerate more. Most cordless drills have a two speed gearbox, with a low setting that gives higher torque at lower rotation and is the right choice for large bits, hole saws, and metal. A drill with variable speed trigger control lets you ease the bit into the surface before applying full speed.
Why bits burn and how to stop it
A bit burns when friction heat builds faster than the flutes and the material can carry it away. The common causes are speed that is too high for the bit size, a dull edge that rubs rather than cuts, packed flutes that trap heat, pressing too lightly so the bit rubs without biting, and no lubricant on metal. Pressing lightly is counterintuitive but real: a bit has to bite into the material, and a feather touch lets the edge ride on the surface, generating heat without cutting.
Prevention follows from those causes. Slow down for larger bits, apply firm steady pressure, clear chips regularly, and use cutting oil on metal. Look at the chips themselves: a good cut produces continuous spirals or distinct curls, while powder and smoke mean the bit is rubbing. A bit that has turned blue has been overheated enough to lose its temper, and it will not hold an edge afterwards. Resharpening is possible with a drill bit sharpening jig or a bench grinder, but the angles are fiddly, and for small and cheap bits replacement is easier. A dull bit is a risk to the drill, too, because a bit that bogs down makes the motor draw more current and heat up, which also drains the battery faster. For more options in this area, our Tools and DIY section has companion guides.
Buying sets and single bits
A boxed set is the sensible starting point because the commonly used sizes are all there, and the case keeps bits sorted. For a general household, a set of HSS twist bits from about 1 mm to 10 mm, a brad point set for wood, and three or four masonry bits in common sizes cover most needs. Add a cobalt set only if you drill stainless or thick steel, and buy Forstner and step bits individually when a job requires them.
Check the index case, since a case with clear size markings saves time, and avoid sets that lump twenty near identical sizes into one box at the expense of range. A set that covers your real sizes beats a bigger one that does not. Buy the largest sizes you use as singles, because they wear first, and keep a spare of the size you use most, which is often 3 mm to 5 mm for pilot holes.
Frequently asked questions
Can I use one bit for wood and metal?
A standard HSS twist bit will drill both, but it leaves a rough exit in wood and needs a punch mark and lubricant in metal. It works as a compromise for occasional jobs. For finished woodwork, a brad point bit gives clearly better results, and for stainless a cobalt bit lasts far longer.
Are titanium coated bits worth the extra cost?
The coating reduces friction and wear, and it can extend life in general use. It is a thin surface layer on ordinary steel, so resharpening removes it. For heavy metal drilling, cobalt is a better investment than a coating on plain HSS.
Why does my bit wander when I start a hole in metal?
The tip has no purchase on a smooth surface and skates sideways. Tap a centre punch to make a dimple, then start slowly with a smaller pilot bit. A self centring bit or a step bit also helps on thin material.
Do I need a hammer drill for brick?
For soft brick and small holes, a regular drill with a masonry bit can work if you go slowly. For concrete, dense block and larger holes, a hammer drill is far quicker and puts less strain on the bit. Rotary hammers with SDS bits are best for frequent or heavy masonry work.
How do I know when a bit is dull?
The bit needs more pressure, makes powder rather than chips, squeals, smokes, or produces a hole with burnt walls. Visible rounding at the cutting edges is another sign. If a resharpened bit still does not cut, replace it.
The bottom line
Choose the bit by material first. Brad point for wood you care about, HSS twist for general and metal work, cobalt for stainless and hard steel, carbide tipped for masonry, step for thin sheet. Check that the shank suits your chuck, then match speed to bit size, slower for bigger bits and harder materials.
A good starter kit is an HSS twist set, a brad point set and a few masonry bits, with specialist bits bought when a job needs them. Use a centre punch, clear chips and keep a bit cool, and your bits will last far longer than the cheap set that was blamed for the burnt holes.