A dull pair of pruning shears does not simply cut badly, it damages the plant. A blunt blade crushes the stem instead of slicing it, leaving a ragged wound that heals slowly and invites disease. It also makes your hand work harder, so the tool that was meant to make the job easy becomes a source of fatigue. Sharpening takes about ten minutes and a few inexpensive tools, and it is one of the most useful maintenance jobs in the garden.
This guide explains how the two main blade designs differ, why the single bevel on a bypass blade shapes the whole method, which sharpening tool to use, how to hold the angle, how to deal with sap and rust, how to disinfect between plants, and how to tell when sharpening will not fix the shears.
Bypass and anvil blades
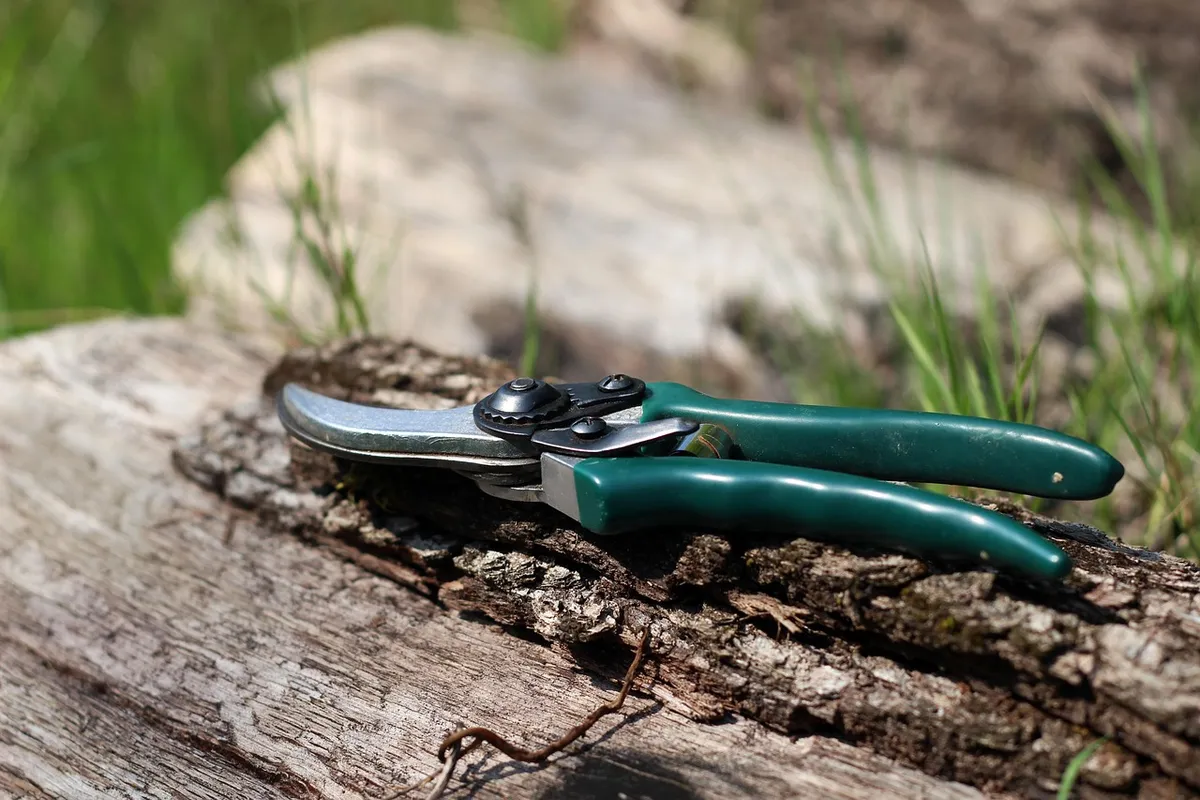
Bypass shears have two blades that pass each other like scissors. The upper blade is sharpened and cuts against a lower, unsharpened hook that supports the stem. They make clean, close cuts and are the right choice for live, green stems, because they slice rather than crush. Most garden pruning is done with bypass shears.
Anvil shears have a single sharpened blade that closes against a flat, softer surface called the anvil, a little like a knife on a chopping board. They work well on dead, dry wood, where a crushing cut does no harm, and they tend to cut with less hand effort. On green stems they squash the tissue, which is why most gardeners avoid them for live growth. Anvil blades are bevelled on both sides, and the anvil needs to be flat and in good condition for the cut to work.
Knowing the type before you start matters because the sharpening method differs. Treat the two types the same and you risk ruining a bypass blade by rounding its flat back. If you are unsure, look at the blades: if they pass each other, they are bypass, and if one blade meets a flat surface, they are anvil.
The single bevel on a bypass blade
A bypass blade has one bevelled face, the angled surface running along the cutting edge on the outside of the blade, and a flat inner face that rides against the lower blade. The bevel is typically ground to an angle of around 20 to 25 degrees, though no source documents a single angle that every manufacturer uses, so the best guide is the angle already on your blade. The flat face must stay flat, because it is the surface that closes tightly against the lower blade and produces the shearing action.
This is the rule that decides everything: sharpen the bevel, never the flat. If you grind the back of the blade, you create a second bevel, the blade no longer closes cleanly, and the shears start to chew stems rather than cut them. The only work needed on the flat side is a single pass with a flat stone or fine file held perfectly flat to remove the burr, the thin wire edge of metal pushed over by sharpening. One or two strokes at most are enough.
On anvil shears, the bevel is on both sides of the single blade, and you sharpen each side equally, keeping the original angle. Do not try to sharpen the anvil itself, which is meant to be flat and softer than the blade. If the anvil is badly dented or worn, replace it or the whole tool.
File, whetstone or diamond sharpener
A flat mill file, a whetstone and a diamond sharpener will all produce a sharp edge, and the choice is mainly one of convenience. A fine single cut file is cheap, quick and good for removing small nicks. It cuts in one direction, so push it along the bevel away from the edge or toward it in one direction only, and lift it on the return. Files are good for field maintenance and for blades with some damage to remove.
A whetstone, usually a two sided stone with a coarse and a fine face, gives the most refined edge. It needs lubrication, either water or oil depending on the stone, and takes practice to hold the angle steadily. It is slower, but it produces a keen edge that holds well. Diamond sharpeners, either handheld paddles or small cards with a diamond coated surface, are fast, need no lubricant in many cases, and do not dish like some stones. Fine grit diamond is a sensible choice for maintenance, while coarse grit is for repairing a damaged edge.
Pocket multi tool sharpeners with fixed angle slots are available, and they are handy but cannot adapt to the angle of your blade. They can produce an edge that is not quite right for your shears. If you use one, check that its angle suits your bevel, and stop if the result looks uneven.
| Sharpener | Speed | Edge quality | Best for |
|---|---|---|---|
| Fine mill file | Fast | Good | Quick maintenance, removing nicks |
| Whetstone | Slower | Very fine | Careful restoration, long lasting edge |
| Diamond paddle or card | Fast | Good to fine | Field use, tough steel, repeat touch ups |
| Fixed angle tool | Fastest | Variable | Convenience, if the angle matches |
Clean and take apart first
Sharpening dirty shears grinds sap and grit into the stone and the blade. Start by cleaning the blades with warm water and a scrubbing pad, and use a little white spirit or a resin remover to take off sticky sap. Rust comes off with fine steel wool or a rust eraser, rubbed along the blade. Wear gloves and eye protection throughout, because the blades are sharp and metal dust can fly.
If your shears can be taken apart with a nut and bolt at the pivot, do so and sharpen the blade separately, as this gives better access and lets you handle it safely. Note how the washer, spring and bolt fit together, perhaps with a quick photo, so you reassemble them correctly. If the shears are riveted and cannot be dismantled, hold them open and clamp the handle in a vice or work on a bench with the blade exposed.
Check the spring while you are there. A weak or broken spring makes the shears hard to use, and it is often the reason a pair feels tired when the blade is fine. Replacement springs are inexpensive for most good brands. Clean the pivot and add a drop of light oil to keep it running smoothly.
Step by step sharpening
First, secure the blade so it cannot move. Then identify the bevel and set your file or stone against it, matching the angle by eye or by looking for the shiny line where the old edge sits. Use light, steady strokes in one direction, from the base of the blade to the tip, following the curve. Do not saw back and forth, because that dulls the edge and risks rounding the angle.
Count your strokes, around ten to twenty, and check progress. You should see a bright, even line along the whole bevel, and when you run a finger carefully across the blade, never along it, you should feel a slight burr on the flat side. That burr tells you that you have sharpened right to the edge. Do not press hard, as more pressure just removes more metal and does not make the edge keener.
Next, turn the blade over and remove the burr with one or two flat passes of the fine stone or file against the flat face, holding it perfectly flat. Keep the flat on the surface, not tilted. Finally, wipe off the metal dust, reassemble the shears, and test on a piece of scrap green stem. A sharp pair makes a clean cut without crushing, and the cut surface should look smooth rather than shredded. If it still snags, go over the bevel again lightly.
Removing sap and rust, and oiling after
Sap is a nuisance because it hardens and makes blades sticky, which also hides dirt. Wipe the blade after each use with a damp cloth or an alcohol wipe, and clean thoroughly after pruning resinous plants such as conifers. Regular wiping saves you from heavy scrubbing later.
Rust forms quickly on bare steel left damp. A rust eraser or fine steel wool removes light surface rust, and a soak in white vinegar for a few hours loosens heavier deposits, followed by rinsing and thorough drying. Deep pitting cannot be removed, and it may weaken a blade or leave a rough edge that is hard to sharpen well.
After cleaning and sharpening, wipe the blade with a thin film of light machine oil, camellia oil or a similar blade protectant, and add a drop at the pivot. Wipe off any excess so that it does not drip onto plants or your hands. Store the shears dry, closed with the safety catch on, in a shed or a tool box rather than leaving them out on the soil, which holds moisture and speeds rust.
Disinfecting between plants
Dirty blades can carry plant diseases from one plant to another, especially when you cut diseased wood and then move on to healthy stems. The usual precaution is to wipe or dip the blades in a disinfectant between plants, and always between cuts on a plant you know is infected. Isopropyl alcohol at a strength found in common rubbing alcohol is widely used, and diluted household bleach is another option, though it can corrode steel, so rinse and oil the blade afterwards.
No source documents one exact contact time or strength that suits every disease and every disinfectant, so the practical advice is to wipe thoroughly and let the blade air dry or use a fresh cloth. Disinfecting matters most for known problems such as fire blight on pears and apples, canker on fruit trees and viral diseases in roses. For general tidy up pruning of healthy shrubs, wiping between plants is enough.
Clean before disinfecting. Disinfectants work poorly on blades covered in sap and dirt, so wipe off the debris first. Keep a small bottle and a cloth in your tool bucket so the habit is easy to maintain.
When to replace the blade or the shears
Sharpening cannot fix everything. A blade with deep nicks, a bent or twisted edge, or a hairline crack should be replaced. A loose pivot that lets the blades gap means stems get caught between them instead of being cut, and if tightening the nut does not cure it, the pivot or washers may be worn. A weak spring is easy and cheap to replace.
Many better shears sell spare blades, springs and bolts, which makes repair cheaper than a new pair. Buying shears from a brand that stocks parts is worth the extra cost at the outset. Cheap shears with riveted blades often cannot be repaired, and when they wear out you replace the whole pair. If you regularly prune thick branches, consider loppers or a pruning saw, because forcing shears through wood thicker than their rated capacity bends blades and wears pivots. For other garden care guides, see our Outdoor and Garden section, and for related planning, see raised garden bed materials.
Technique habits that keep an edge longer
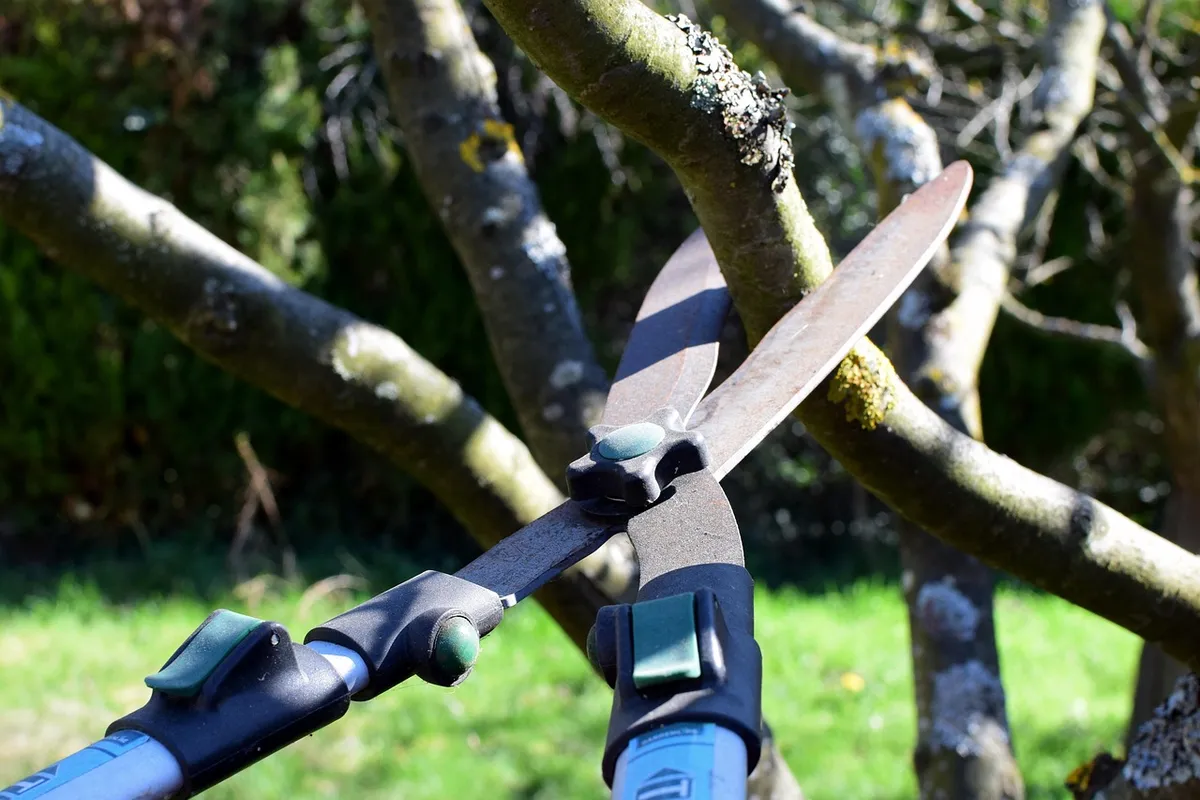
How you cut matters as much as how you sharpen. Place the stem deep in the jaws, close to the pivot, where leverage is greatest and the blade meets the stem squarely. Cutting with the tip of the blade twists the stem and puts side load on the pivot. For a branch near the shears' stated capacity, make the cut in one firm motion rather than wiggling the tool, because wiggling bends the blade and chips the edge.
Keep the lower hook of a bypass pair on the side of the stem that will remain on the plant, so that any crushing happens on the waste piece. Cut just above a bud or a side branch at a slight angle, so rain runs off the wound. Avoid cutting wire, tie wire, plant labels and stakes, since steel on steel nicks the edge faster than any amount of wood. A single cut through a wire can undo the work of a careful sharpening session.
Storage is the other half. Put the shears away clean and dry, with the lock engaged so the blades cannot knock against other tools in a box. A loose pair rattling among trowels and spikes picks up nicks and dents. A small sheath or a hook on a pegboard solves this cheaply. Nearby tools benefit from the same routine: a hose that is drained and coiled properly, as covered in our garden hose guide, and a mower with a clean sharp blade, as discussed in the lawn mower comparison, all last longer when treated as part of one seasonal routine.
Finally, build sharpening into a calendar. Many gardeners sharpen at the end of the main pruning season and again at the start of the next, so the tool goes into storage clean and oiled and comes out ready. That habit costs a few minutes twice a year and removes the frustration of reaching for a dull tool on the first fine day of spring.
Frequently asked questions
How often should I sharpen pruning shears?
It depends on use. For regular gardening, a light touch up once or twice a season keeps shears cutting cleanly, and heavy use or dirty conditions call for more. If you notice crushing, extra effort or ragged cuts, it is time.
Can I sharpen both sides of a bypass blade?
No. Only the bevelled side is sharpened, and the flat side stays flat except for removing the burr. Sharpening the flat creates a second bevel and stops the blades closing cleanly.
What angle should I use?
Match the existing bevel on your blade. Many are ground around 20 to 25 degrees, but no source documents a single angle used by every maker, so follow the factory edge rather than a number.
Do I need to disinfect after every cut?
Not for healthy plants in a routine trim, where wiping between plants is enough. When cutting diseased wood, disinfect between every cut so you do not spread the problem to healthy growth.
Is it worth sharpening cheap shears?
Often yes, for a few minutes of effort. If the blades are soft, badly pitted or riveted so you cannot reach them properly, replacement may be simpler. Good shears with spare parts reward maintenance for many years.
The bottom line
Clean the shears, sharpen only the bevel at its existing angle with light one direction strokes, remove the burr from the flat side with a single flat pass, then oil and reassemble. A fine file, a diamond sharpener or a whetstone will all do the job, so pick the one you will actually use.
Disinfect between plants when disease is a concern, wipe sap off after each session, and replace springs, blades or the whole tool when damage goes beyond sharpening. A pair that is looked after cuts cleanly for years and protects your plants as well as your hands.